Dev Blog #1: Zooming In
11/16/2014 at 10:00 PM
As mentioned in our introduction, PixlCross has been in active development for quite a while now. The first prototype was written before being accepted to the Nintendo Developer Program and since then we've started fresh with what's intended to be the final implementation. A few weeks ago, we decided we had done all we could really do without having a dev kit in house, so we put in our order to bring one in.
Since our last blog, we've received our dev kit and subsequently hooked it up, which turned out to be an ordeal in and of itself. For whatever reason DHCP on my router wasn't working as expected, which resulted in some annoying problems that weren't possible to solve without some input from Nintendo. Thankfully the whole dev kit setup only set us back a single day.
Stunningly, PixlCross got running on the dev kit on the very first shot! It's interesting though, we didn't really know what to expect when it first booted up over there. The literature provided by Nintendo was a bit nondescript on some of the specific details about how HTML 5 games work when running on the system.
As it turns out, unlike a normal web page, scrolling isn't supported, which meant I had to implement camera controls, zooming, scrolling, and a UI that would work within the confines of the GamePad resolution. And so began a whole bunch more work than we realized we had in store before the dev kit arrived.
With only 480 vertical pixels to work with, it meant scaling the viewable area on the game to 480x480, which now prevents the player from seeing the whole puzzle. In order to fix that problem, it became necessary to implement camera controls so that the player can see the stuff that's out of view.
So, step 1 was figuring out how to move the "camera" around in enchantJS, our engine du jour for implementing PixlCross. As I've come to find, the literature on enchantJS is pretty thin and trying to figure out how to do anything is a painful process. After hours of research, what I eventually figured out is that the actual viewable area IS the camera. Instead of moving the camera itself, you have to move all the nodes on the screen. Having done OpenGL in the past, it was a weird mental adjustment to make, but it got the job done, so no complaints.
Of course, moving the position of everything in the scene has cascading impacts. The input handler works based on the x and y values of touch input, which becomes all out of whack every time the camera is moved. Keeping track of the adjustments to the "camera" allows manipulation of the input x and y values to match the new location of the items in the scene. Thankfully, this was easy work.
While step 1 took a bunch of research, step 2 took much more hands on work and some experimentation. Step 2, of course, was getting the zoom ability to work. Like step 1, this started with research - how do you move the camera out? Well, since step 1 taught me that the viewable area is the camera, zooming out isn't really an option - but scaling everything in the scene should be. Except it wasn't. This had some really weird results with lines and boxes all over the place, instead of smoothly scaling and properly positioning the puzzle. I eventually stumbled over the answer, which was scaling the scene itself that holds all of the elements that comprised the puzzle.
This too had unforeseen consequences. After scaling the scene, it shifted the 0, 0 position all the way to the bottom right. In order to consistently move it back up to the top left so that the whole puzzle was in view, I had to capture how much of an adjustment I had to make for two separate scales. Believe it or not, I had to trot out my Algebra skills to calculate the slope of the line and the y-intercept with good old y = mx + b.
With this lovely bit in place, it was quick work to lock the controls when zoomed out to ensure that the player didn't try to fill in the puzzle when zoomed out. I was excited to finally finish up, especially considering it was 1 in the morning. I couldn't wait to show Chessa how much progress I had made come the morning.
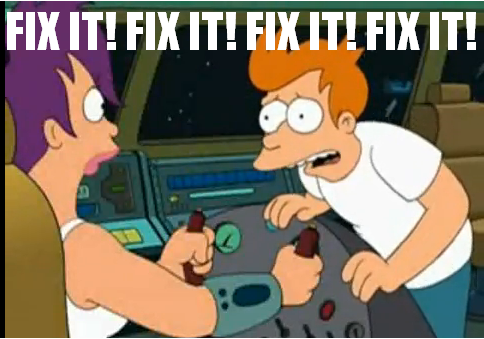
The next morning came, I rolled over, slapped my laptop in front of her and showed her how awesome things were now. She gave it all a shot and immediately expressed her dissatisfaction with my implementation. I'll admit, I was a little crushed. In her mind, it came out like this:
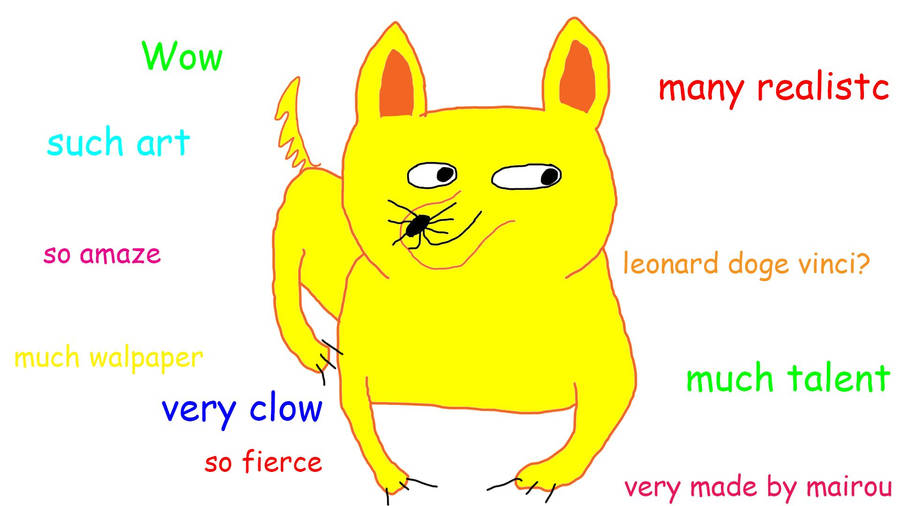
To me, it sounded more like this:
She demanded a slider to control how zoomed in you were, and of course, players should be able to draw in the puzzle no matter the zoom level. So back to the drawing board I went.
It took a significant amount of work to implement, but I managed to get the slider in the game. Furthermore, I managed to get the input to work no matter what zoom level. It required more math, which was no fun.
The finishing touches for this weekend's work was getting the in-game UI to look a little sharper. It's still a work in progress, but it's starting to actually feel like a game, which is kind of crazy. Check out the video below to get an idea of the results of this weekend's work.
- Nick